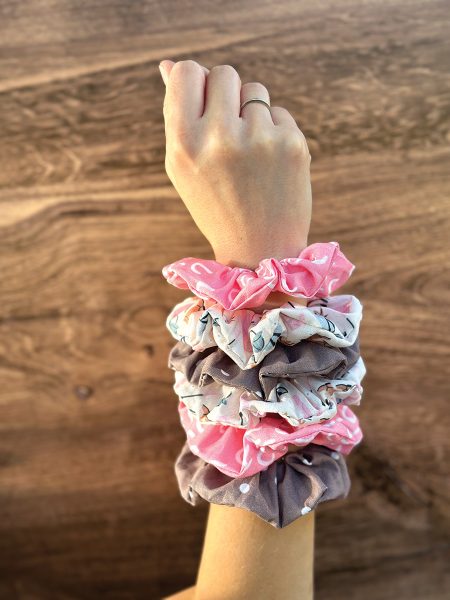
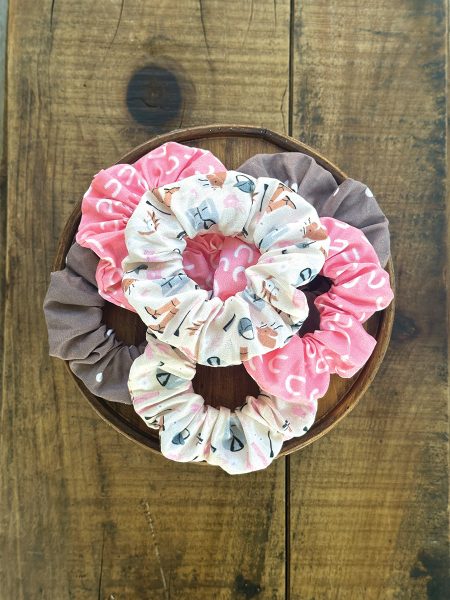
Having trouble finding horse-themed hair accessories? Try making your own! As summer nears, these DIY scrunchies are the perfect way to tie up your hair and stay cool this summer.
Three Options
There are three ways to create your own horsey scrunchies, and no matter which way you choose, you’ll end up with a cute and personalized one to show off at the barn.
Beginner: Use fabric glue to connect all your fabric.
Intermediate: Hand-sew your fabric together (the method shown here).
Advanced: If you know how to use a sewing machine and have adult supervision, you can use a machine to sew your scrunchie together.
Materials
◆ Horsey cotton fabric
◆ Thin flat elastic
◆ Thread
◆ Needle
◆ Scissors
◆ Safety pin
◆ Fabric glue (optional)
Instructions
Step 1: Cut your fabric into strips measuring 3″ x 18-22″, depending on how big you want your scrunchie to be. Fold each strip in half with the pattern on the inside.
Pro Tip: Sew a small part of each end under itself to create a cleaner seam in the end.
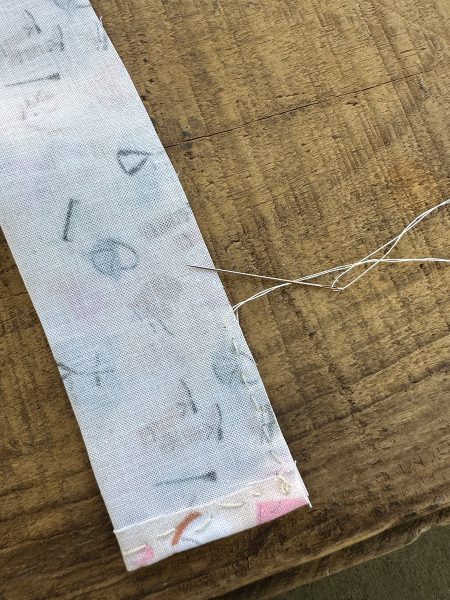
Step 2: Sew the sides together to create a tube.
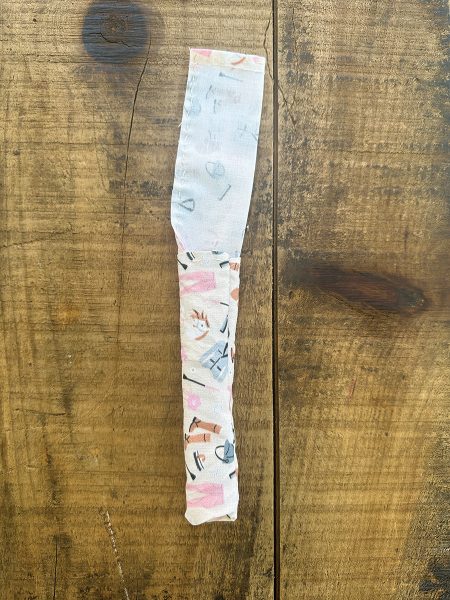
Step 3: Turn your fabric tube inside out so the pattern is on the outside. This step can be frustrating, as it may take a little bit of time. Don’t give up! It will be worth it in the end.
Step 4: Cut a piece of elastic a little bigger than the size you want your scrunchie. If you want it tighter, cut it smaller. Looser scrunchies need a bit more elastic. Measuring the elastic around your wrist is a great place to start when deciding on the tightness of your scrunchie.
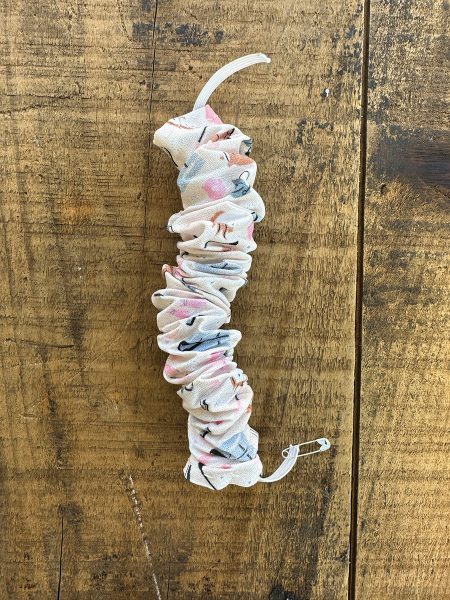
Step 5: Add a safety pin for weight to one end of your fabric and put it through your fabric tube.
Step 6: Pull the elastic from both ends and knot them together.
Pro Tip: Sew your two pieces of elastic together rather than making a knot.
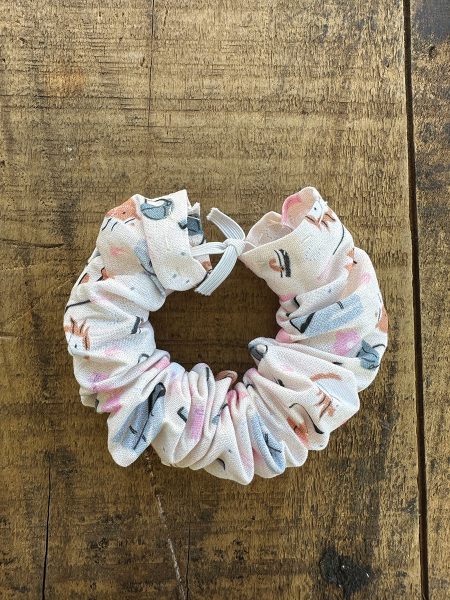
Step 7: Sew the two ends together and put your new scrunchie in your hair. Enjoy!
This article about DIY horsey hair scrunchies appeared in the May/June 2024 issue of Young Rider magazine. Click here to subscribe!

