![]() You’ve probably spent a ton of time coming up with the perfect color scheme so that all your barn gear matches and looks awesome on your pony. By knowing how to design your horse brushes, you’ll always know which ones are yours. Here’s how to create your own custom grooming kit!
You’ve probably spent a ton of time coming up with the perfect color scheme so that all your barn gear matches and looks awesome on your pony. By knowing how to design your horse brushes, you’ll always know which ones are yours. Here’s how to create your own custom grooming kit!
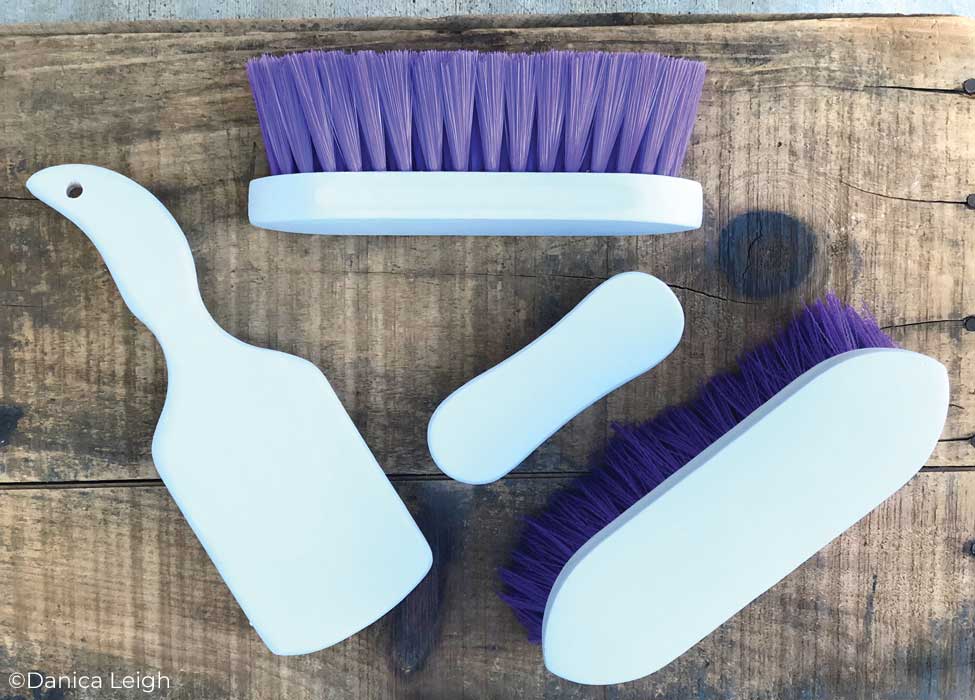
Materials
- Horse brushes
- Sandpaper
- Acrylic paint
- Paint brushes
- Blue painter’s tape
- Clear finish gloss spray
Instructions
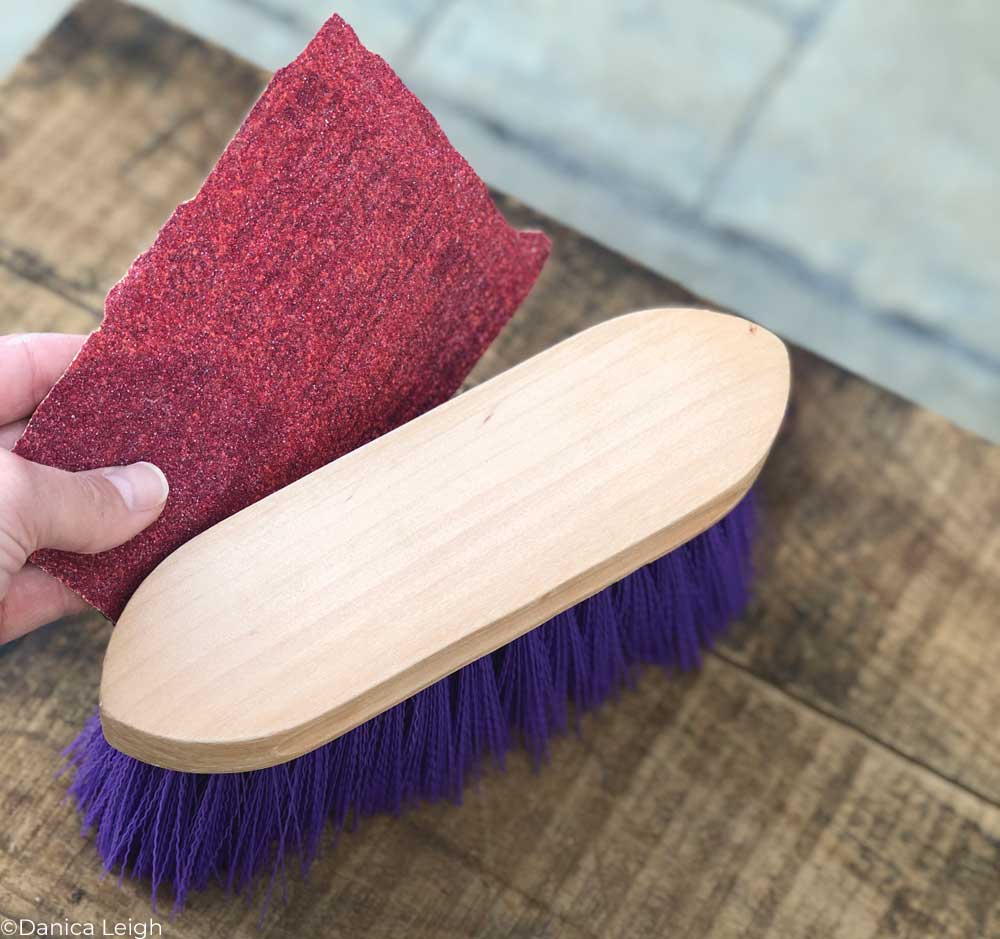
- Step 1: Lightly sand the wood or plastic backs of the brushes. Any shiny finish should be gone, leaving a dull and porous surface.

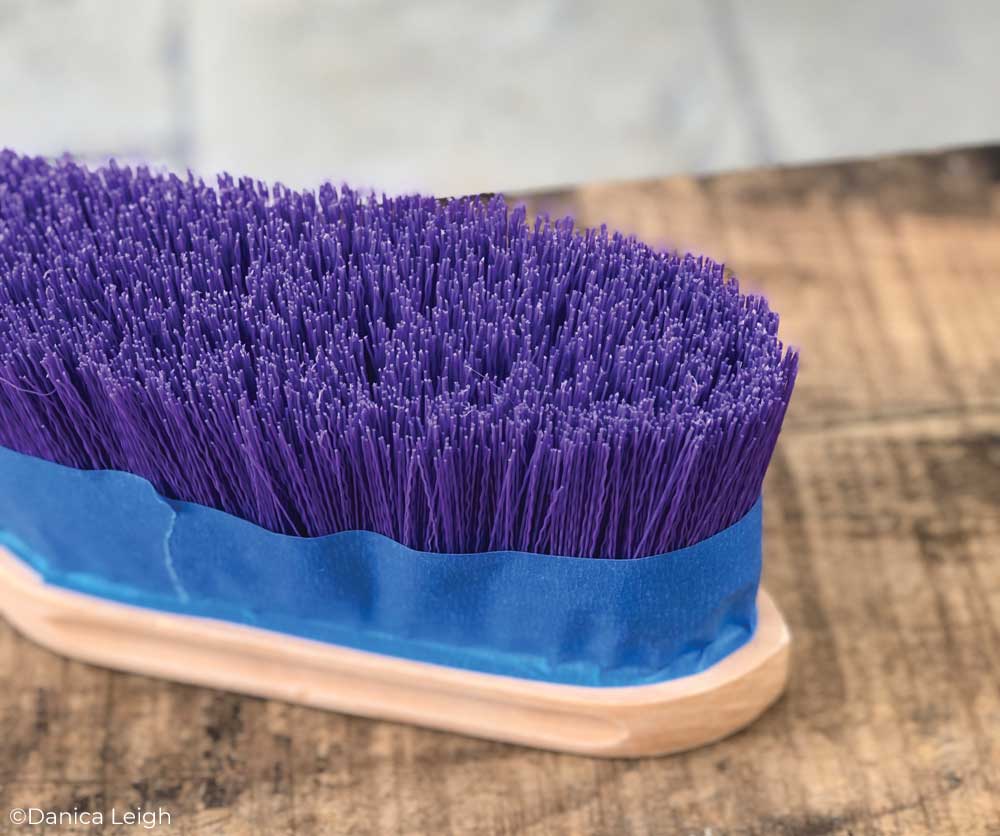
- Step 2: Place blue painter’s tape around the bristles of your brushes. You don’t want any of the paint getting on the bristles.

- Step 3: Paint the handles of your brushes with your base color. This may take a couple of thin coats. If that is the case, let the paint dry in between coats.

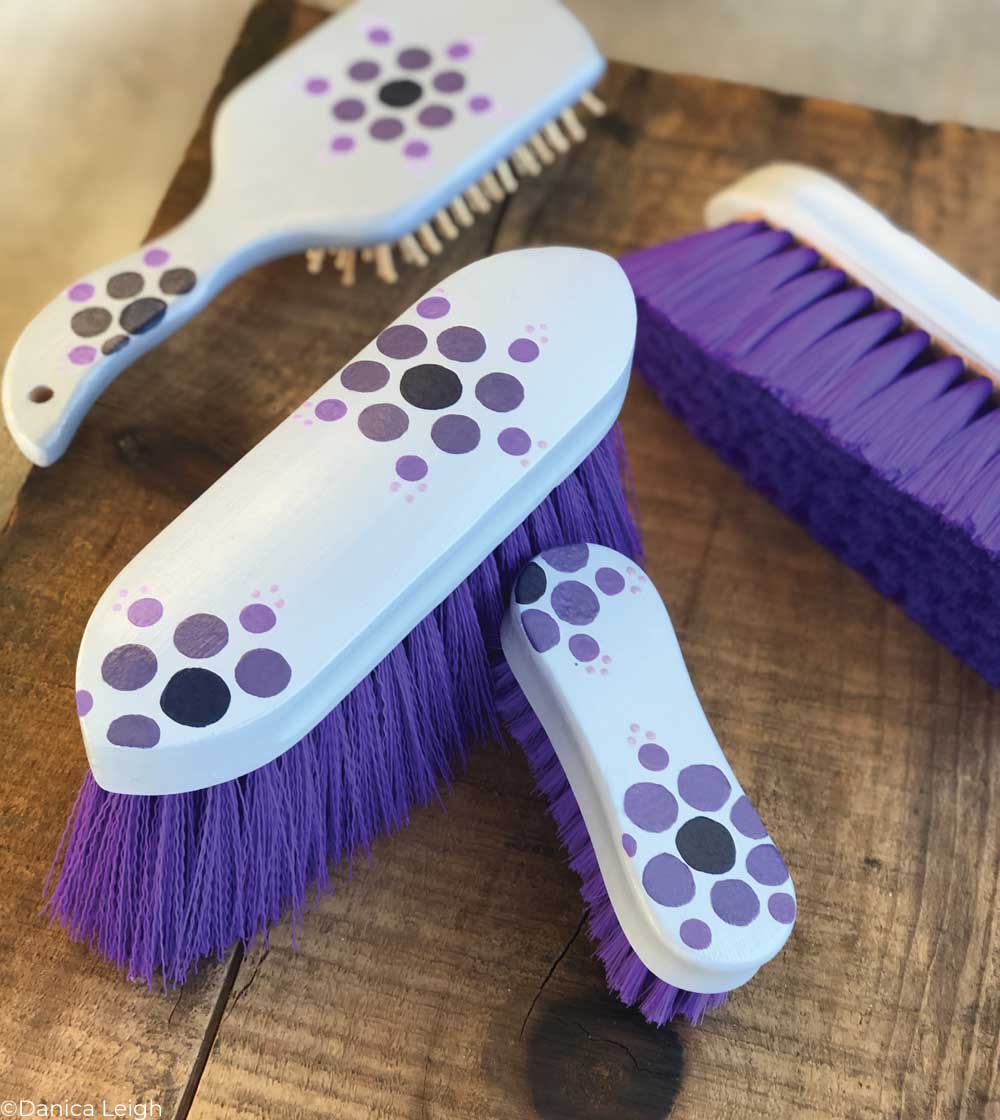
- Step 4: Paint your design on the horse brushes. We chose to use various sizes of paint brushes and pencils to create a dot pattern.
- Step 5: Ask an adult to help you spray your brushes with a clear finish gloss spray. Let it dry. Check your specific spray for details, but we would recommend letting them sit overnight.
- Step 6: Remove the blue painter’s tape and take your new designed horse brushes to the barn!
Tip: You can use the erasers on pencils, the top of a paint brush handle, or even toothpicks to make nice, clean dots with paint.
This article originally appeared in the May/June 2019 issue of Young Rider magazine. Click here to subscribe!