


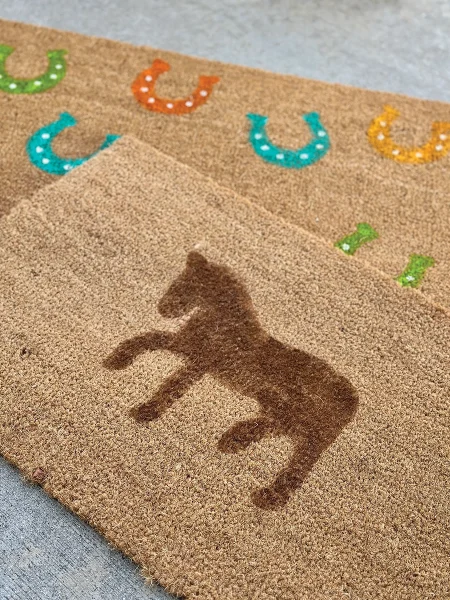
Hold your horses! This DIY doormat will be at the top of your summer to-do list. It is the perfect outdoor project that will brighten up any doorstep. Choose a unique horsey design and get painting to create your very own welcoming masterpiece.
Materials
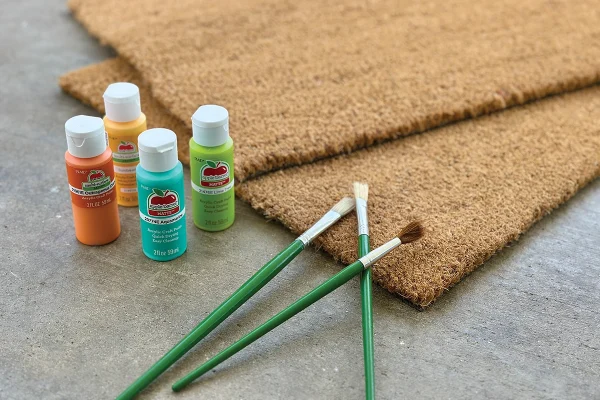
◆ Coir doormat
◆ Acrylic paint
◆ Printed stencil or template
◆ Tape (painters or duct)
◆ Paint brushes
◆ Spray rubber sealant coating
◆ Craft foam (optional)
Stencil & Paint
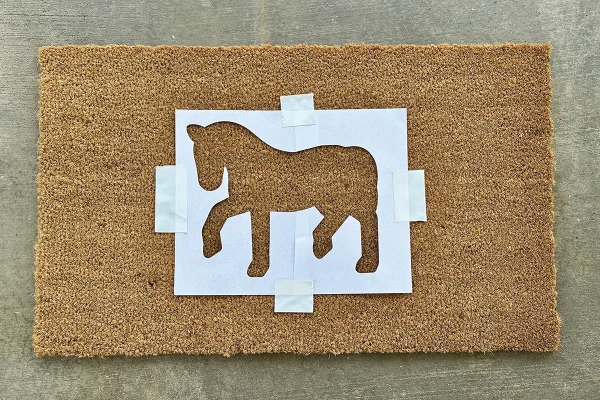
◆ Step 1: Choose your design and print it out. Then cut out the center so you have your very own stencil/template. You can choose one large design or a shape that you repeat all over your mat.
◆ Step 2: Tape your template to your doormat to keep it in place while you paint.
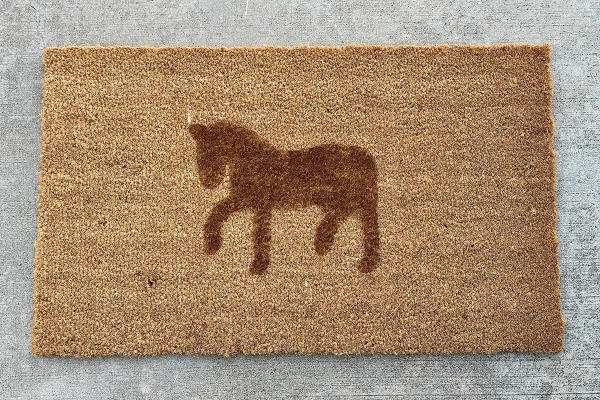
◆ Step 3: Using a paint brush and acrylic paint, fill in your design with paint. If you are using a repeating design, repeat this step until you are satisfied with your doormat design.
◆ Step 4: Let the paint dry.
◆ Step 5: Once dry, have an adult help you spray your doormat with a rubber sealant coating and let it set according to the directions on the spray can.
Craft Foam & Paint
You can also use craft foam to cut out your very own sponge to paint your doormat.
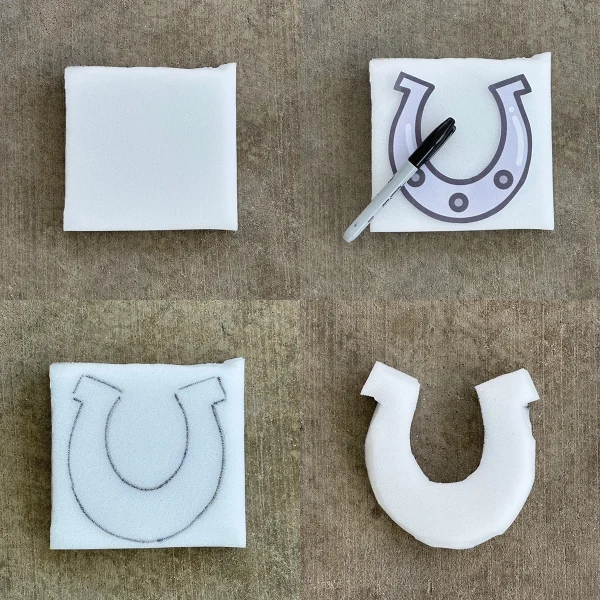
◆ Step 1: Print out design.
◆ Step 2: Trace design on foam.
◆ Step 3: Cut out foam.
◆ Step 4: Dip your foam sponge in paint and press the sponge on your doormat.
◆ Step 5: Once dry, coat with rubber spray sealant just like in Step 5 of the stencil directions.
TIP: You can use the back of a paintbrush (the non-brush end) to create the nail holes of a horseshoe.
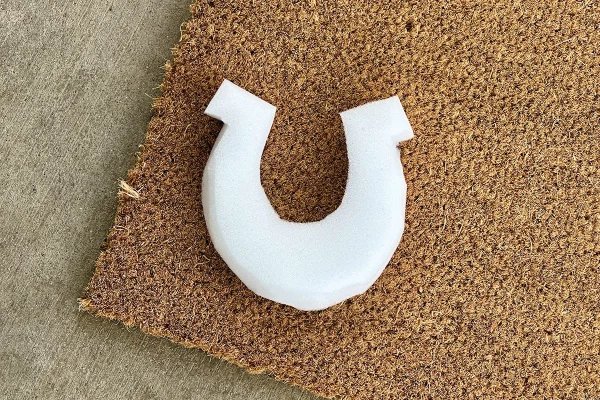
Either way you create your mat, once the sealant is dry, you’re ready to set out your doormat and enjoy!
This article about making a DIY horsey doormat appeared in the July/August 2025 issue of Young Rider magazine. Click here to subscribe!

