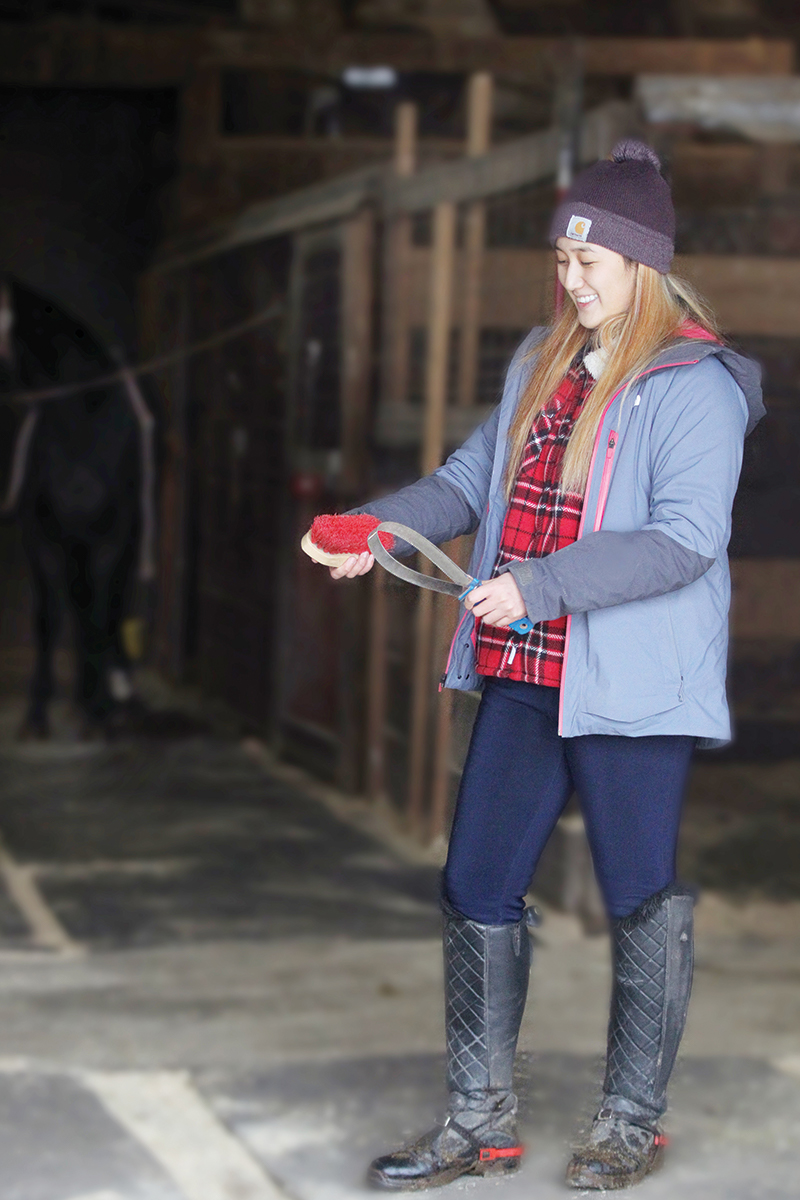
Every good rider knows that grooming is essential in the cleanliness and health of your horse or pony. A thorough grooming session provides invaluable bonding time with your equine friend, allows you time to check for any lumps or bumps, and—of course—gets him clean.
However, it can be easy to forget that all the dirt coming off of your pony is going somewhere, and usually that somewhere is onto your grooming tools. When your brushes get too dirty, you can unintentionally be transferring germs and dirt back onto your pony’s coat.
These step-by-step instructions for grooming tool cleaning will make sure your pony’s bushes are clean and ready for action.
1. Get the grime off your grooming tools
The loose hair and dirt that you’ve spent hours working off your pony can clog up your brushes and keep them from really getting your pony to shine. So, the first step of proper grooming tool cleaning is to get rid of that grime!
If you have hair and grime stuck in your curry comb, tapping it against a clean, hard surface can help pop all that loose hair out. If hair is accumulating on your hard or soft brush, use a metal sweat scraper to rake off the excess hair from the brush.
Even if you’re not doing a deep clean on your brushes, this step is something that should be done after every use of your grooming tools to help keep your pony looking his best.
2. Time for grooming tool cleaning
When removing the loose dirt and hair from your brushes isn’t enough, grooming tool cleaning will require you to get soapy. Fill up a bucket with warm water, squirt in some gentle dish soap, and mix up the suds.
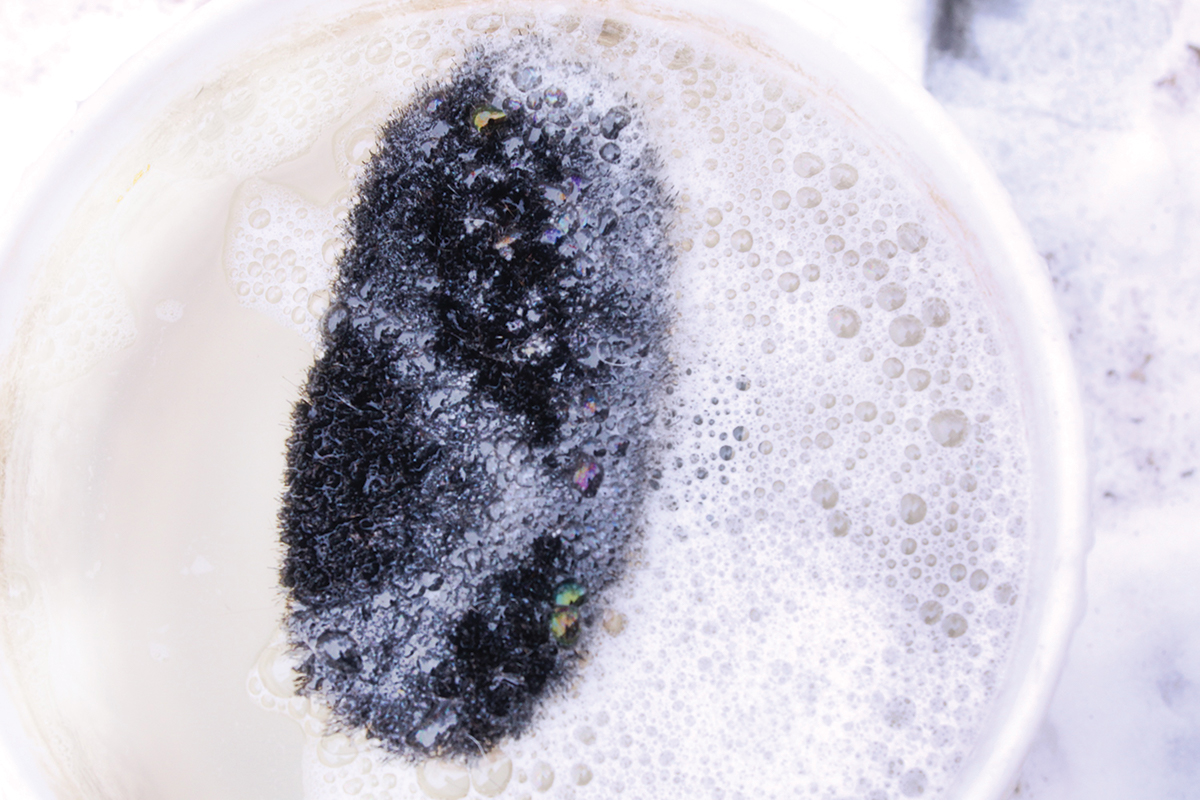
Once your soapy mixture is ready, dunk your brushes and let them soak for a couple of minutes. Swirl, swish, and scrub them around in the soapy water, making sure to get between the bristles to remove that deep-down grunge that is sometimes hard to see.
This sudsy step will help kill germs and remove irritants that can get trapped in grooming tools from daily use.
3. The final rinse
After you’ve gotten your brushes all soapy and scrubbed, it’s time for the final rinse. Lay your brushes down, bristle-side up, and rinse with fresh water from the hose or sink until all the soapy bubbles have disappeared.
This final rinse will wash away whatever hair and dirt is left on your brushes, and also helps to make sure that you aren’t left with a soapy film after all your hard work.
4. Let your grooming tools dry
Now that your brushes have gotten a good washing, the last step is to let them dry. To let your brushes dry out naturally, lay them out in a clean, sunny spot with plenty of fresh air that is away from the hustle and bustle of the barn aisle. This step prevents the excess moisture from getting trapped between the bristles, which could cause mold.
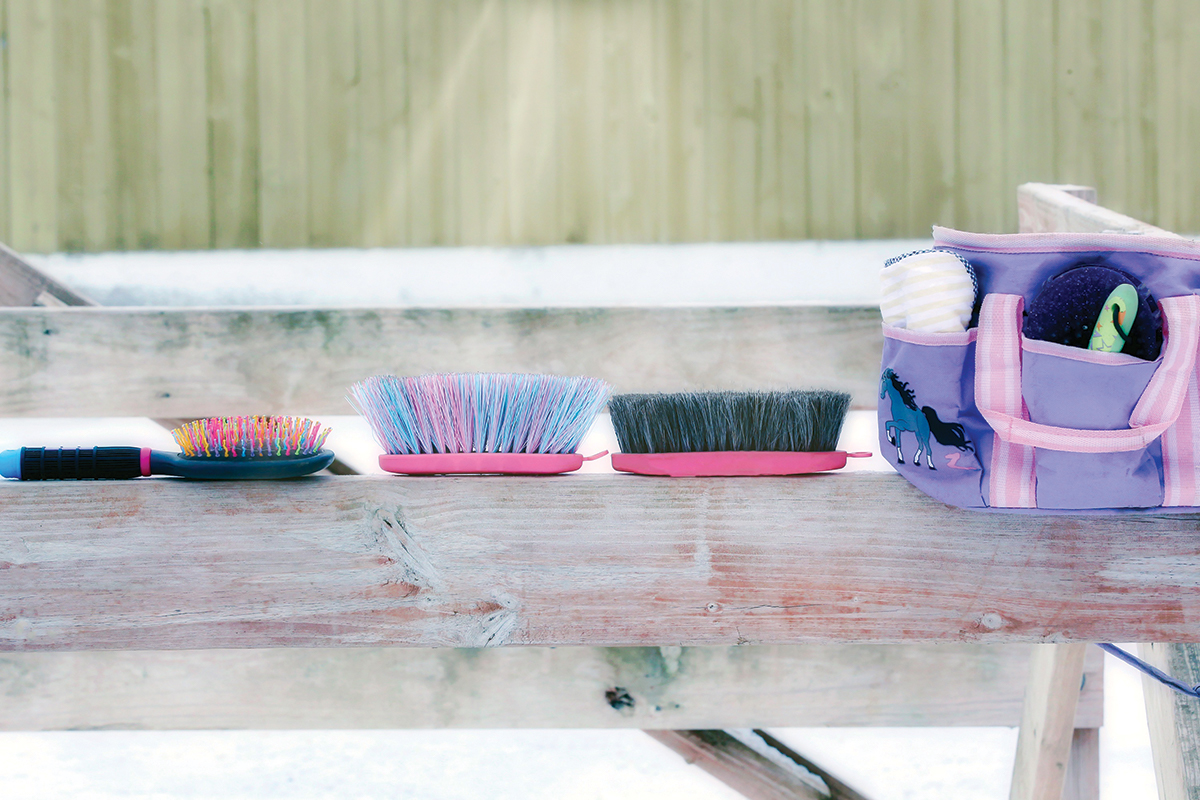
Once your brushes are completely dry, they should be neatly put away in your grooming tote so they’ll be ready the next time your pony comes in from the field after a nice roll in the mud.
Grooming your pony can be very relaxing for both of you, and you definitely don’t want grime intruding on your precious time together. Giving your grooming supplies a deep clean can help make sure you’re not leaving any gunk behind during a grooming session and guarantee your pony’s coat has a megawatt shine.
This article about grooming tool cleaning originally appeared in the Spring 2021 issue of Young Rider magazine. Click here to subscribe!