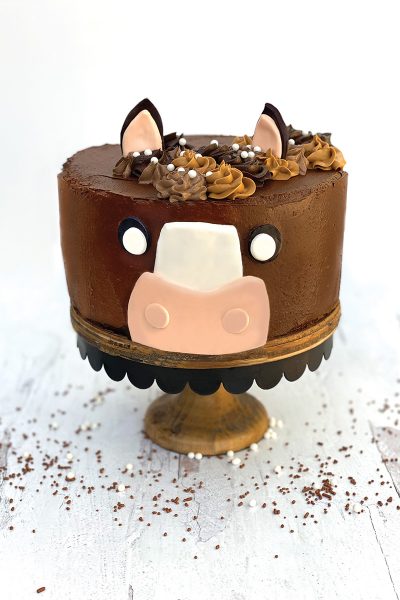
Let’s ring in the New Year with a horsey cake! Is there a better way to celebrate than with this adorable horse cake? We don’t think so! Follow these steps to decorate your own cake to enjoy with your barn buddies as you look forward to another year at the stables.
Materials:
◆ 5 Boxed cake mix, bake per 8 or 9″ round pan directions (ours is three layers)
◆ 5 Buttercream frosting (two tubs: one chocolate, one vanilla)
◆ 5 Colored fondant
◆ 5 Toothpicks
◆ 5 Frosting scraper or flat spatula
◆ 5 Closed-star piping tips
◆ 5 Plastic bags
◆ 5 Brown food coloring or gel
◆ 5 Sprinkles or sugar pearls (optional)
Step 1: Bake round cake layers per box directions. Frost using a frosting scraper or spatula to create a smooth surface.
Step 2: Roll out each of your colored fondants into thin layers. Fondant hardens very fast, so make sure to move quickly! If your fondant is too sticky, lightly dust powdered sugar on your surface. You can use kitchen tools to help cut the shapes for the horse’s face. The large side of piping tips are the perfect size for the eyes! You can also use your hands to shape and sculpt the fondant. You will need four ear shapes (the outsides plus smaller insides), the bridge of the nose, the nostrils with two small circles, and the eyes (two larger black circles and two smaller white circles).

Step 3: For the ears, eyes, and nostrils, use a small amount of water to make fondant stick to fondant. For example, lightly brush the back of the whites of the eyes with water before pressing into the black part.
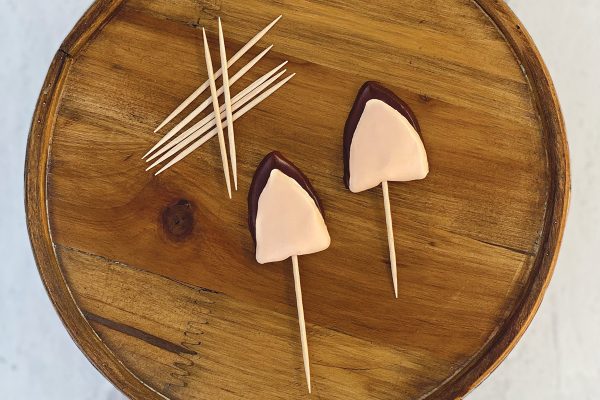
Step 4: Once you’ve made the ears, insert a toothpick partially into the ear and then carefully press the open end of the toothpick into the cake. Gently press the rest of the fondant pieces to the cake.
Fondant tip: To make your fondant look shiny, lightly coat with vegetable shortening, or with an adult’s help, gently steam with a hand-held clothing steamer.
Step 5: Split your vanilla frosting into three bowls. Using various amounts of brown food coloring, color the frosting three different shades of brown. Once ready, cut a small hole in a plastic bag, place your piping tip in the bottom, and add the frosting.
Step 6: Using a circular motion, pipe different-sized circles on top of the cake to make the mane and forelock, starting at the center and moving toward one side, using all three shades of brown frosting. If you’re feeling fancy, add a few sprinkles or sugar pearls.
Step 7: Serve and enjoy!
This article about making horsey cake appeared in the Winter 2022 issue of Young Rider magazine. Click here to subscribe!