Just like you take care of your horse after a ride, you should also take care of your tack. Leather requires regular cleaning and care to stay strong and safe. Dry leather can easily break, but regular care and a good, deep clean of your bridle will keep it in safe working condition. Plus, it will look nicer and last longer before you need to buy a replacement—a win/win!
For a quick everyday clean, use a damp rag or sponge to remove sweat and dirt that harms leather, and rinse or wipe down the bit. If time permits, follow with a swipe of leather cleaner.
When it comes to water, less is more. Too much water isn’t good for leather. Wring out any excess water from your sponge or cloth so that it’s not soaking wet.
When you have time to deep clean your bridle, follow the steps below to make your leather really glow and help it last for many years to come!
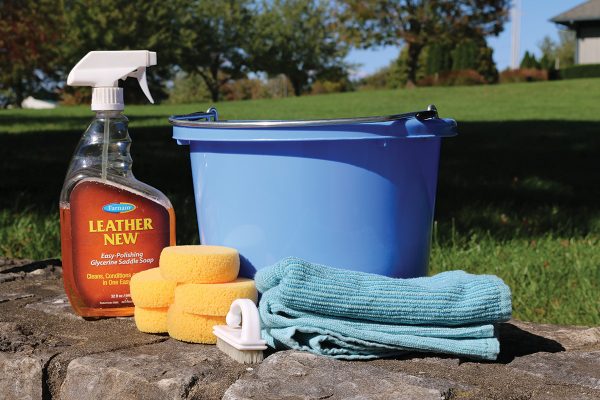
Supplies
◆ Bucket
◆ Leather cleaner
◆ Leather oil or conditioner
◆ Tack sponges or other small sponges
◆ Multipacks of inexpensive washcloths or microfiber towels
◆ Towel or soft cloth
◆ Toothbrush (optional)
◆ Toothpick (optional)
◆ Small scrub brush (optional)
Steps to Deep Clean Your Bridle
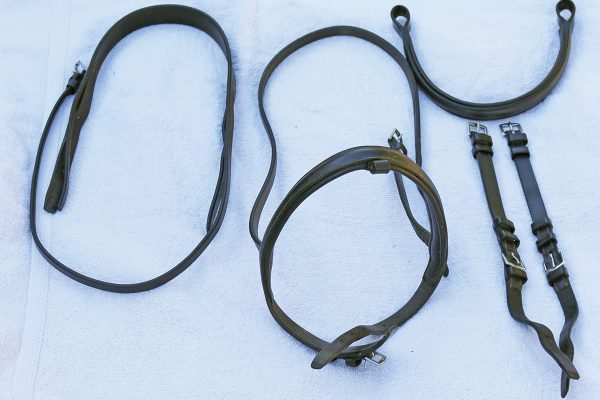
1. Take Apart the Bridle.
For a thorough, deep clean, take the bridle apart so that you can reach all the nooks and crannies. Note the holes where the buckles are adjusted so you won’t have to re-fit the bridle on your horse—write it down, or take a quick photo with your phone.
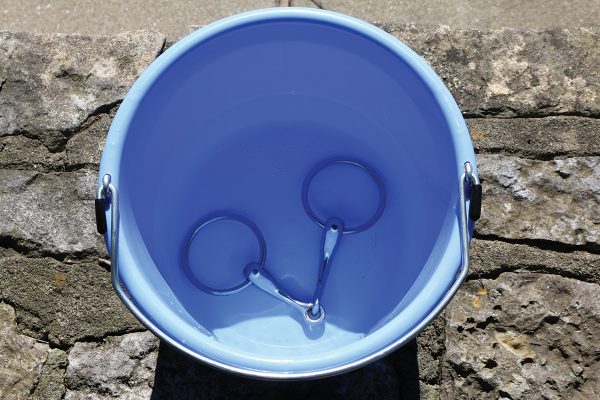
Soak the bit in hot water to loosen any crusted-on gunk. A small scrub brush is helpful to remove those hardened bits of your horse’s leftover lunch from his bit.
2. Remove Dirt.
Use a damp rag or sponge to wipe down the leather and remove dirt, mud, sweat and any other grime from the surface.
3. Clean.
If your leather cleaner’s directions say to use a dry cloth or sponge, switch out for one now. Apply a small amount of saddle soap or other leather cleaner. Work the cleaner in well and wipe off any excess.
A soft toothbrush can be helpful to get in small areas or to clean built-up dirt on the underside of the leather. A toothpick is handy to clean out the buckle holes.
4. Inspect.
As you deep clean your bridle, inspect it for safety. Look for loose stitching, worn or cracked leather, and other signs of damage. Check carefully around buckles and where the cheek pieces and reins attach to the bit. Get any unsafe tack repaired or replace it.
5. Condition.
Conditioning should be part of your regular tack care routine, but it doesn’t need to be done every day. Conditioning products help keep the leather from drying out.
Apply leather conditioner to your clean, dry bridle and allow it to soak in. Buff any excess with a clean, soft cloth.
6. Reassemble Your Bridle.
Tuck all the loose ends into the keepers. Make sure you attach the bit facing the correct way—most make a slight “U” shape over the curve of the tongue.
7. Hang It Up Neat and Tidy in the Tack Room.
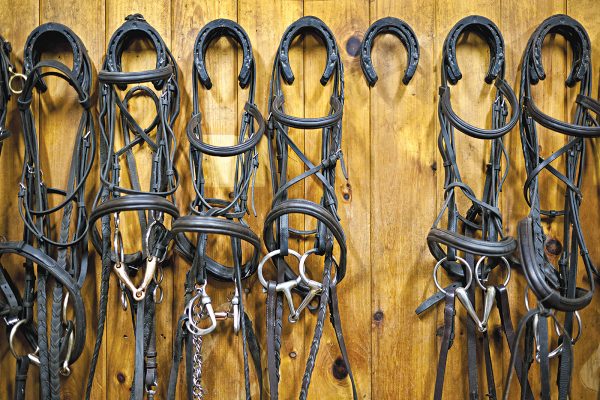
A bridle bracket or rounded hook helps distribute the weight evenly along the crownpiece to avoid creasing or scratching the leather. For extra-spiffy storage, figure-8 your bridles (see sidebar above) to make your tack room look like a pro’s.
Final Step: Figure-8 the Bridle
To keep your English bridle tidy and not tangled, wrap it in a figure-8 style.
- Hang the bridle with the buckle of the reins behind the crownpiece.
- Bring the throatlatch across the front of the bridle, around the back, and over the front again to form an “X.”
- Buckle the throatlatch.
- Wrap the noseband around the bridle and slide the end through the keeper to hold it in place. If the bridle has a flash strap, you can secure it the same way. As an alternate method, some people prefer to pass the throatlatch through the reins (see third bridle from left in top photo).
This article about how to deep clean a bridle appeared in the November 2021 Mini Digital issue of Young Rider magazine. Click here to subscribe!