


Serpentines are a fantastic, easily modified exercise that combine turns and straight lines. While riding serpentines, you are working on your horse’s suppleness, responsiveness to the aids, and straightness while at the same time improving your turning aids and overall accuracy.
How to Serpentine
The most common type of serpentine is the three-loop serpentine. If you have access to ground poles, place two of them lengthwise on the centerline of your arena, equally spaced apart. Usually one-third of the way down the centerline and two-thirds of the way down the centerline works great. (See diagram below.)
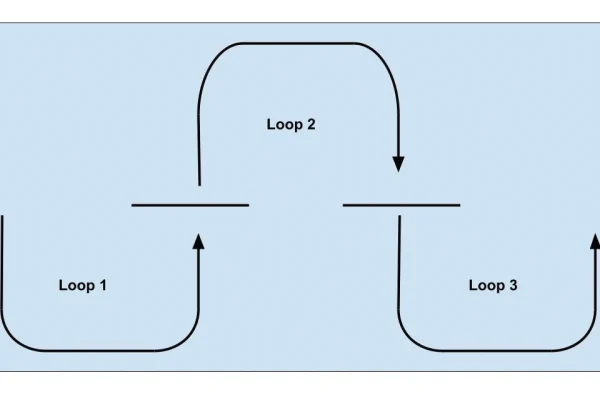
Your serpentine officially starts in the center of the short side of your arena. You can track right or left to begin, but for the purposes of this description, we start tracking left. Your horse should have a left bend and push deep into the corner to begin the first loop of the serpentine.
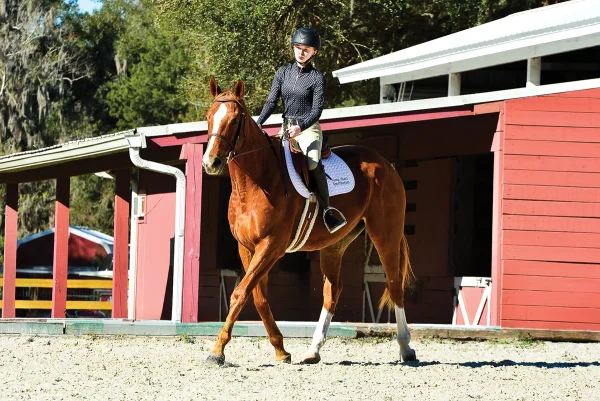
Next, ride straight across the arena over the center of the first pole. As you come across the arena, straighten your horse, remain straight over the pole, and then establish a right bend as you enter the turn.
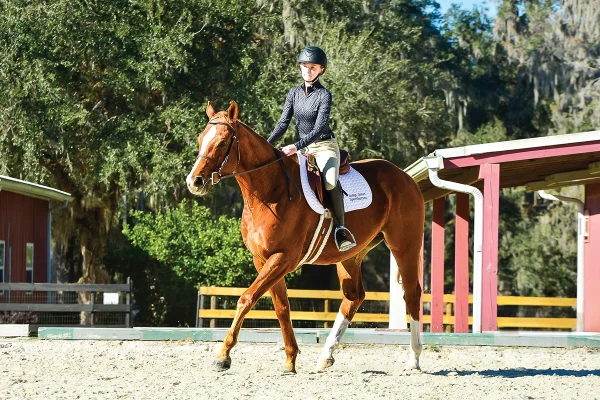
Repeat the process again, this time switching from right bend to straightness across the arena and over the pole, then to left bend. The serpentine is considered complete when you arrive at the center of the opposite short side of the arena, directly at the other end of the centerline from where you began.
Each time you cross centerline, you have completed a loop. Therefore, from the starting point to the first pole is loop 1; from the first pole to the second pole is loop 2; and from the second pole to the ending point is loop 3.
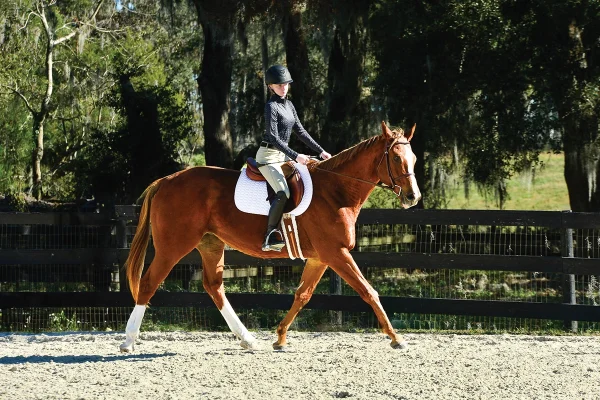
This exercise is easy to make continuous. Once you arrive at the ending point, you can simply continue with the end of your last serpentine marking the beginning of your next one, working your way back down the arena.
If you’re finding the basic exercise difficult, be sure to pause and take your time figuring it out. It’s never good to be in a rush where horses are concerned. It’s always better to simplify things that you or your horse are struggling with, so consider taking out the poles, practicing at the walk, and/or starting with a two-loop serpentine, which only cuts across the arena one time at the center point.
Trot and Canter
Be sure to change directions occasionally and ride through the serpentine the opposite way. As you work on this exercise and progress through the gaits, be aware of the need to change diagonal at the trot (either just before or just after the pole), or the need for your horse to change his canter lead, either with a simple change in the corner or a flying change over the pole. Be aware that keeping your horse straight during a flying change can be quite the challenge!
Before you decide to progress to the canter, it’s important to be sure you’re riding the exercise very accurately at the trot. Your horse should be bending all the way through his ribcage rather than just with his head and neck.
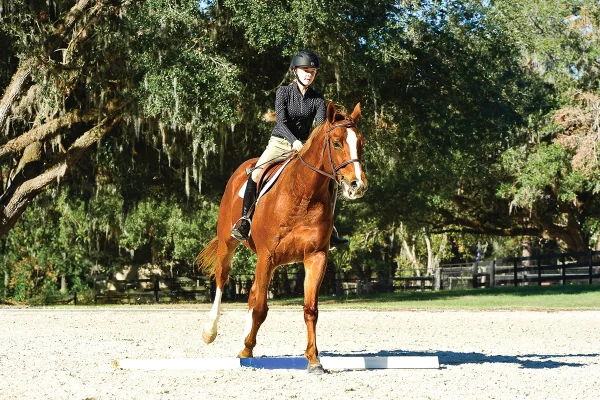
The shape of his body should resemble a banana curving around your inside leg, and you should be able to see the corner of his inside eye. Keep track of this shape, and gradually decrease the bend to straighten across the ring, rather than suddenly letting your horse fall through his inside shoulder.
This takes a lot of coordination and feeling all of your horse’s little imbalances and managing them with your leg and rein aids. By tuning in to these at a slower gait, there will be fewer surprises at the canter.
Trouble Spots
If you feel your horse is falling out through the turns and going past the line you had planned on using to cross the arena, be sure that all of your aids and body language are telling your horse where you intend to turn.
This means your outside leg is on, you are centered over the saddle, your inside rein is coming back toward your inside hip with your fingers firmly closed on the rein, your body is rotating to the inside from the waist up, and your eyes are looking exactly at the center of the pole.
Adjustable Exercise
There are many great ways to change up this exercise to target whatever you and your horse need to work on. You can trot the corners and canter the straightaways; canter the corners and trot the straightaways; or incorporate walk or halt transitions.
You can alternate asking for a simple or flying change, or switch whether the simple change is through the trot, walk, or halt. You can add poles at the ends of the ring, add more loops (and poles), or even progress to small jumps. The possibilities are truly endless!
This article about riding serpentines appeared in the July/August 2025 issue of Young Rider magazine. Click here to subscribe!

